Table of Contents
That $6 cold brew you grab every morning? It’s costing you over $2,000 a year. But here’s the fun part – you can make the same delicious coffee at home for just cents per cup, and I’ll show you exactly how to create that perfect brew without breaking the bank.
The Financial Reality
If you’re hitting up your local coffee spot for cold brew five days a week, you’re dropping around $30 weekly – and that’s before tips. I used to be that person, watching my bank account shrink one coffee run at a time. The realization hit me hard when I calculated my annual coffee shop spending – it was more than my monthly rent! That’s when I knew something had to change.
Breaking Down the Numbers
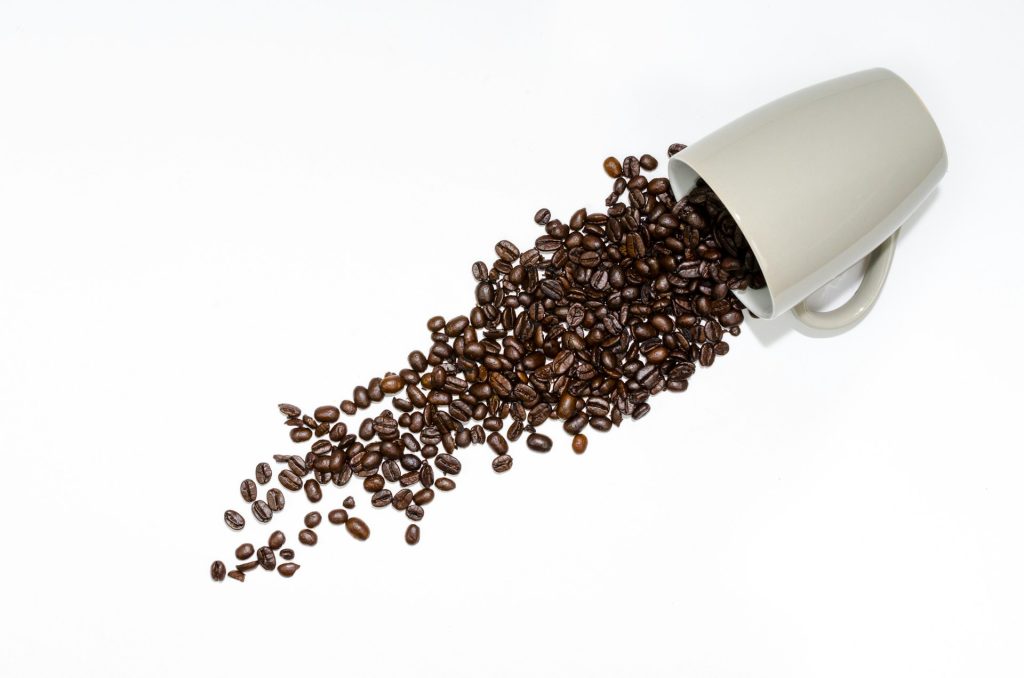
A pound of quality coffee beans costs around $15-20 and makes about 16-20 servings of cold brew. That breaks down to roughly 90 cents per serving. Compare that to your $6 coffee shop cold brew, and you’re looking at savings of over $1,800 annually. My friend Sarah started making cold brew at home six months ago and has already saved enough for a weekend getaway. The math is simple: small daily savings add up to significant long-term gains.
The Basic Startup Costs
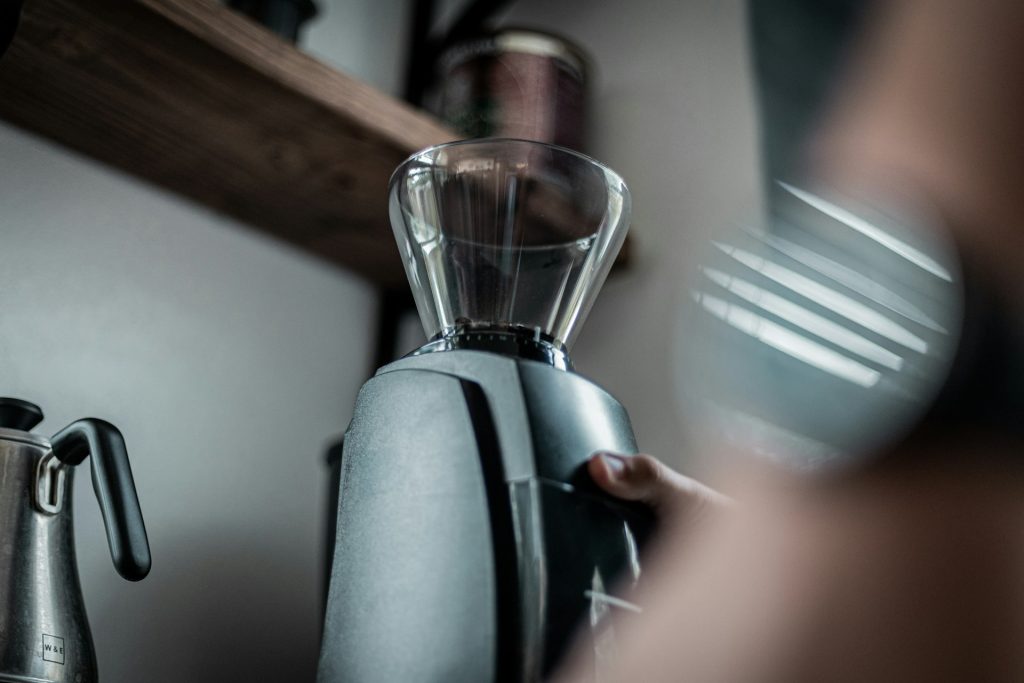
Initial investment is minimal:
- Large mason jar or pitcher ($10-15)
- Fine-mesh strainer ($5-10)
- Cheesecloth ($3)
- Quality coffee beans ($15-20/lb)
- Optional: Digital kitchen scale ($15)
- Optional: Simple coffee grinder ($20-30)
Total startup cost: Under $50 – you’ll make this back in less than two weeks of skipping coffee shop runs.
Long-Term Money Saving Hacks
Create your own flavored syrups for about $1 per batch, compared to the $5 shots at coffee shops. Add cinnamon sticks, vanilla beans, or cocoa nibs during brewing for pennies. Try growing mint in your kitchen window for fresh flavor additions. One batch of homemade vanilla syrup saves about $20 compared to store-bought alternatives and lasts for weeks.
Getting Started Guide
Getting started with cold brew coffee might seem intimidating, but it’s actually one of the most forgiving brewing methods. Let me walk you through everything you need to know to start your journey.
Essential Equipment
Don’t let fancy equipment lists intimidate you. A simple mason jar and strainer are your main tools. The most expensive item you might want is a good grinder, but even that’s optional with pre-ground coffee. What matters most is understanding the basic process and being consistent with your measurements. Remember that while specialty cold brew makers exist, they’re not necessary for great results. Many coffee enthusiasts, including myself, used basic kitchen items for years before investing in any specialized equipment.
The Bean Basics
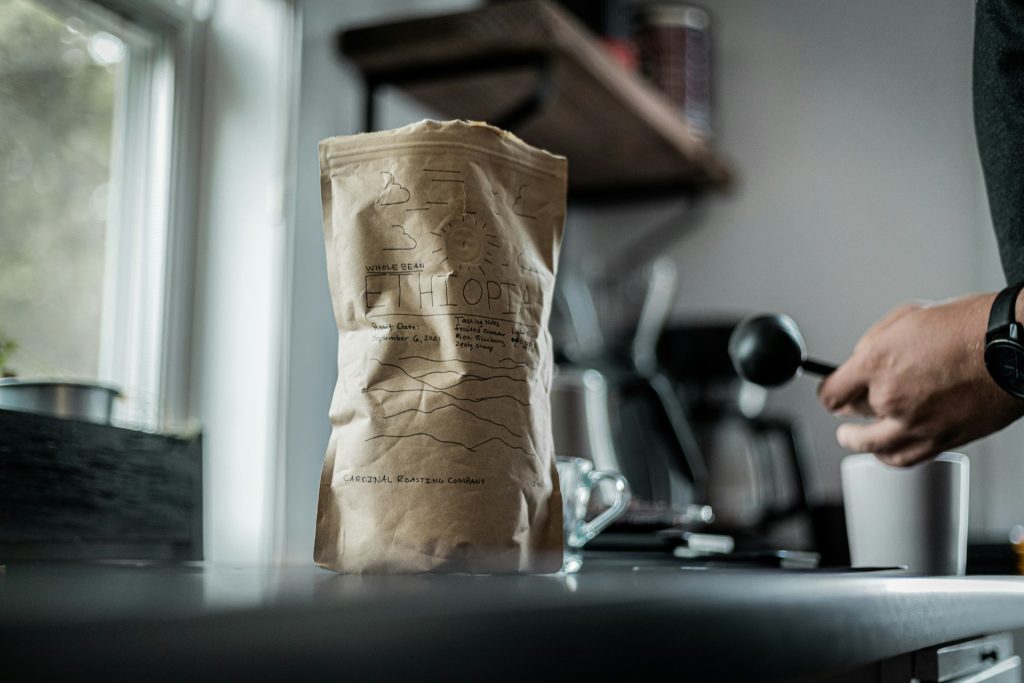
Skip pre-ground coffee – whole beans make a massive difference. Look for medium to dark roasts, specifically Colombian or Guatemalan beans for that perfect balance of chocolate and nutty notes. Store beans in an airtight container away from sunlight, never in the fridge. Buy from local roasters when possible to ensure freshness. Understanding the roast date is crucial – try to use beans within a month of roasting for optimal flavor. Unlike hot coffee, cold brew is remarkably forgiving with slightly older beans.
The Perfect Ratio Method
Use a 1:4 coffee-to-water ratio for a concentrated brew that you can dilute later. This gives you the most bang for your buck and lets you customize strength per cup. Store this concentrate in your fridge for up to two weeks. Use slightly coarser grounds than regular coffee to prevent bitterness and create a smoother finish. I recommend starting with this ratio and adjusting to your taste preferences over time. Keep a brewing journal initially to track what works best for your palate.
Quality Control Tips
The key to coffee shop quality lies in the details. Use filtered water instead of tap water for better taste. Keep your brew in the back of the fridge where it’s coldest for the smoothest results. A consistent 18-hour steep time produces the richest flavor, though you can adjust between 14-24 hours based on preference. Always clean your brewing vessels thoroughly between batches to prevent any off-flavors. Consider using glass containers instead of plastic to avoid any potential flavor transfer.
Advanced Brewing Mastery
Batch Brewing Strategies
Spend 15 minutes on Sunday preparing your cold brew for the entire week. Make multiple batches with different beans or flavors – one classic and one experimental. This ensures variety and backup coffee when friends visit. Label your batches with brewing dates and bean types to track your favorites. Consider investing in multiple brewing containers to maintain a continuous supply without gaps in your coffee schedule.
Flavor Customization
Once you’ve mastered the basics, experiment with seasonal flavors like pumpkin spice or unique combinations like lavender honey. Add a strip of orange peel or cardamom pods during brewing for exotic twists. Control sweetness levels and avoid artificial ingredients by creating your own flavor combinations. Try infusing your water with fruit or herbs before brewing for subtle flavor variations that will impress your coffee-loving friends.
Professional-Grade Tips
Temperature consistency is crucial for optimal extraction. Mark your brewing start time and use a timer for precision. Strain your brew twice for maximum clarity. Dilute your concentrate with filtered water or your choice of milk just before serving. Store in dark glass containers to maintain freshness longer. Consider using a fine mesh bag during brewing for easier cleanup and clearer coffee results.
Troubleshooting Common Issues
Too bitter? Reduce steeping time or use coarser grounds. Too weak? Increase your coffee-to-water ratio slightly. Cloudy brew? Double-strain through a finer filter. Experiment with one variable at a time to perfect your process. Document your adjustments in a coffee journal to track what works and what doesn’t. Remember that seasonal temperature changes may affect your brewing time.
Beyond the Budget Benefits
1. Time and Convenience Gains
Those 5-minute coffee shop stops add up to over 20 hours annually. Home brewing eliminates this waste, giving you precious morning minutes back. Use this time to enjoy your coffee mindfully, catch up on the news, or get ahead on your day. No more rushing or waiting in lines.
2. Environmental Impact
Each year of coffee shop visits generate about 260 disposable cups and lids. Home brewing with reusable containers and metal straws significantly reduces waste. Used grounds make excellent compost for gardens. You’re not just saving money – you’re contributing to environmental sustainability.
3. Quality and Control Advantages
Control every aspect of your brew – bean selection, grind size, steeping time, and strength. No more mystery ingredients or inconsistent quality. Adjust each element to create your perfect cup. The satisfaction of crafting your own premium coffee becomes part of the morning routine.
Start Your Savings Today

Starting your home cold brew journey revolutionizes both your coffee experience and your finances. With minimal upfront investment and effort, you’ll save thousands annually while enjoying superior coffee. Take it from someone who transformed from a coffee shop regular to a home brewing expert – the rewards go far beyond your wallet. Ready to start brewing?

I’m Audrey, a dedicated mother of teenagers with an insatiable love for coffee. On BeanBrewLove.com, I intertwine my need for caffeine with reflections on life. Whether expressing a nostalgic sentiment or injecting a hint of sarcasm, my blog is a reservoir of coffee culture, brewing techniques, and global coffee reviews.

