Table of Contents
Creating chocolate-covered coffee beans is a delightful process that combines the rich flavors of cocoa and the invigorating taste of coffee. Begin with roasted Arabica coffee beans for their superior taste and lower caffeine content. Utilize high-quality chocolate for a decadent coating, and consider dusting with cocoa powder for an extra touch of chocolatey goodness. The key to success is ensuring the beans are evenly coated, creating a harmonious balance between coffee and chocolate.
Gathering the Essentials
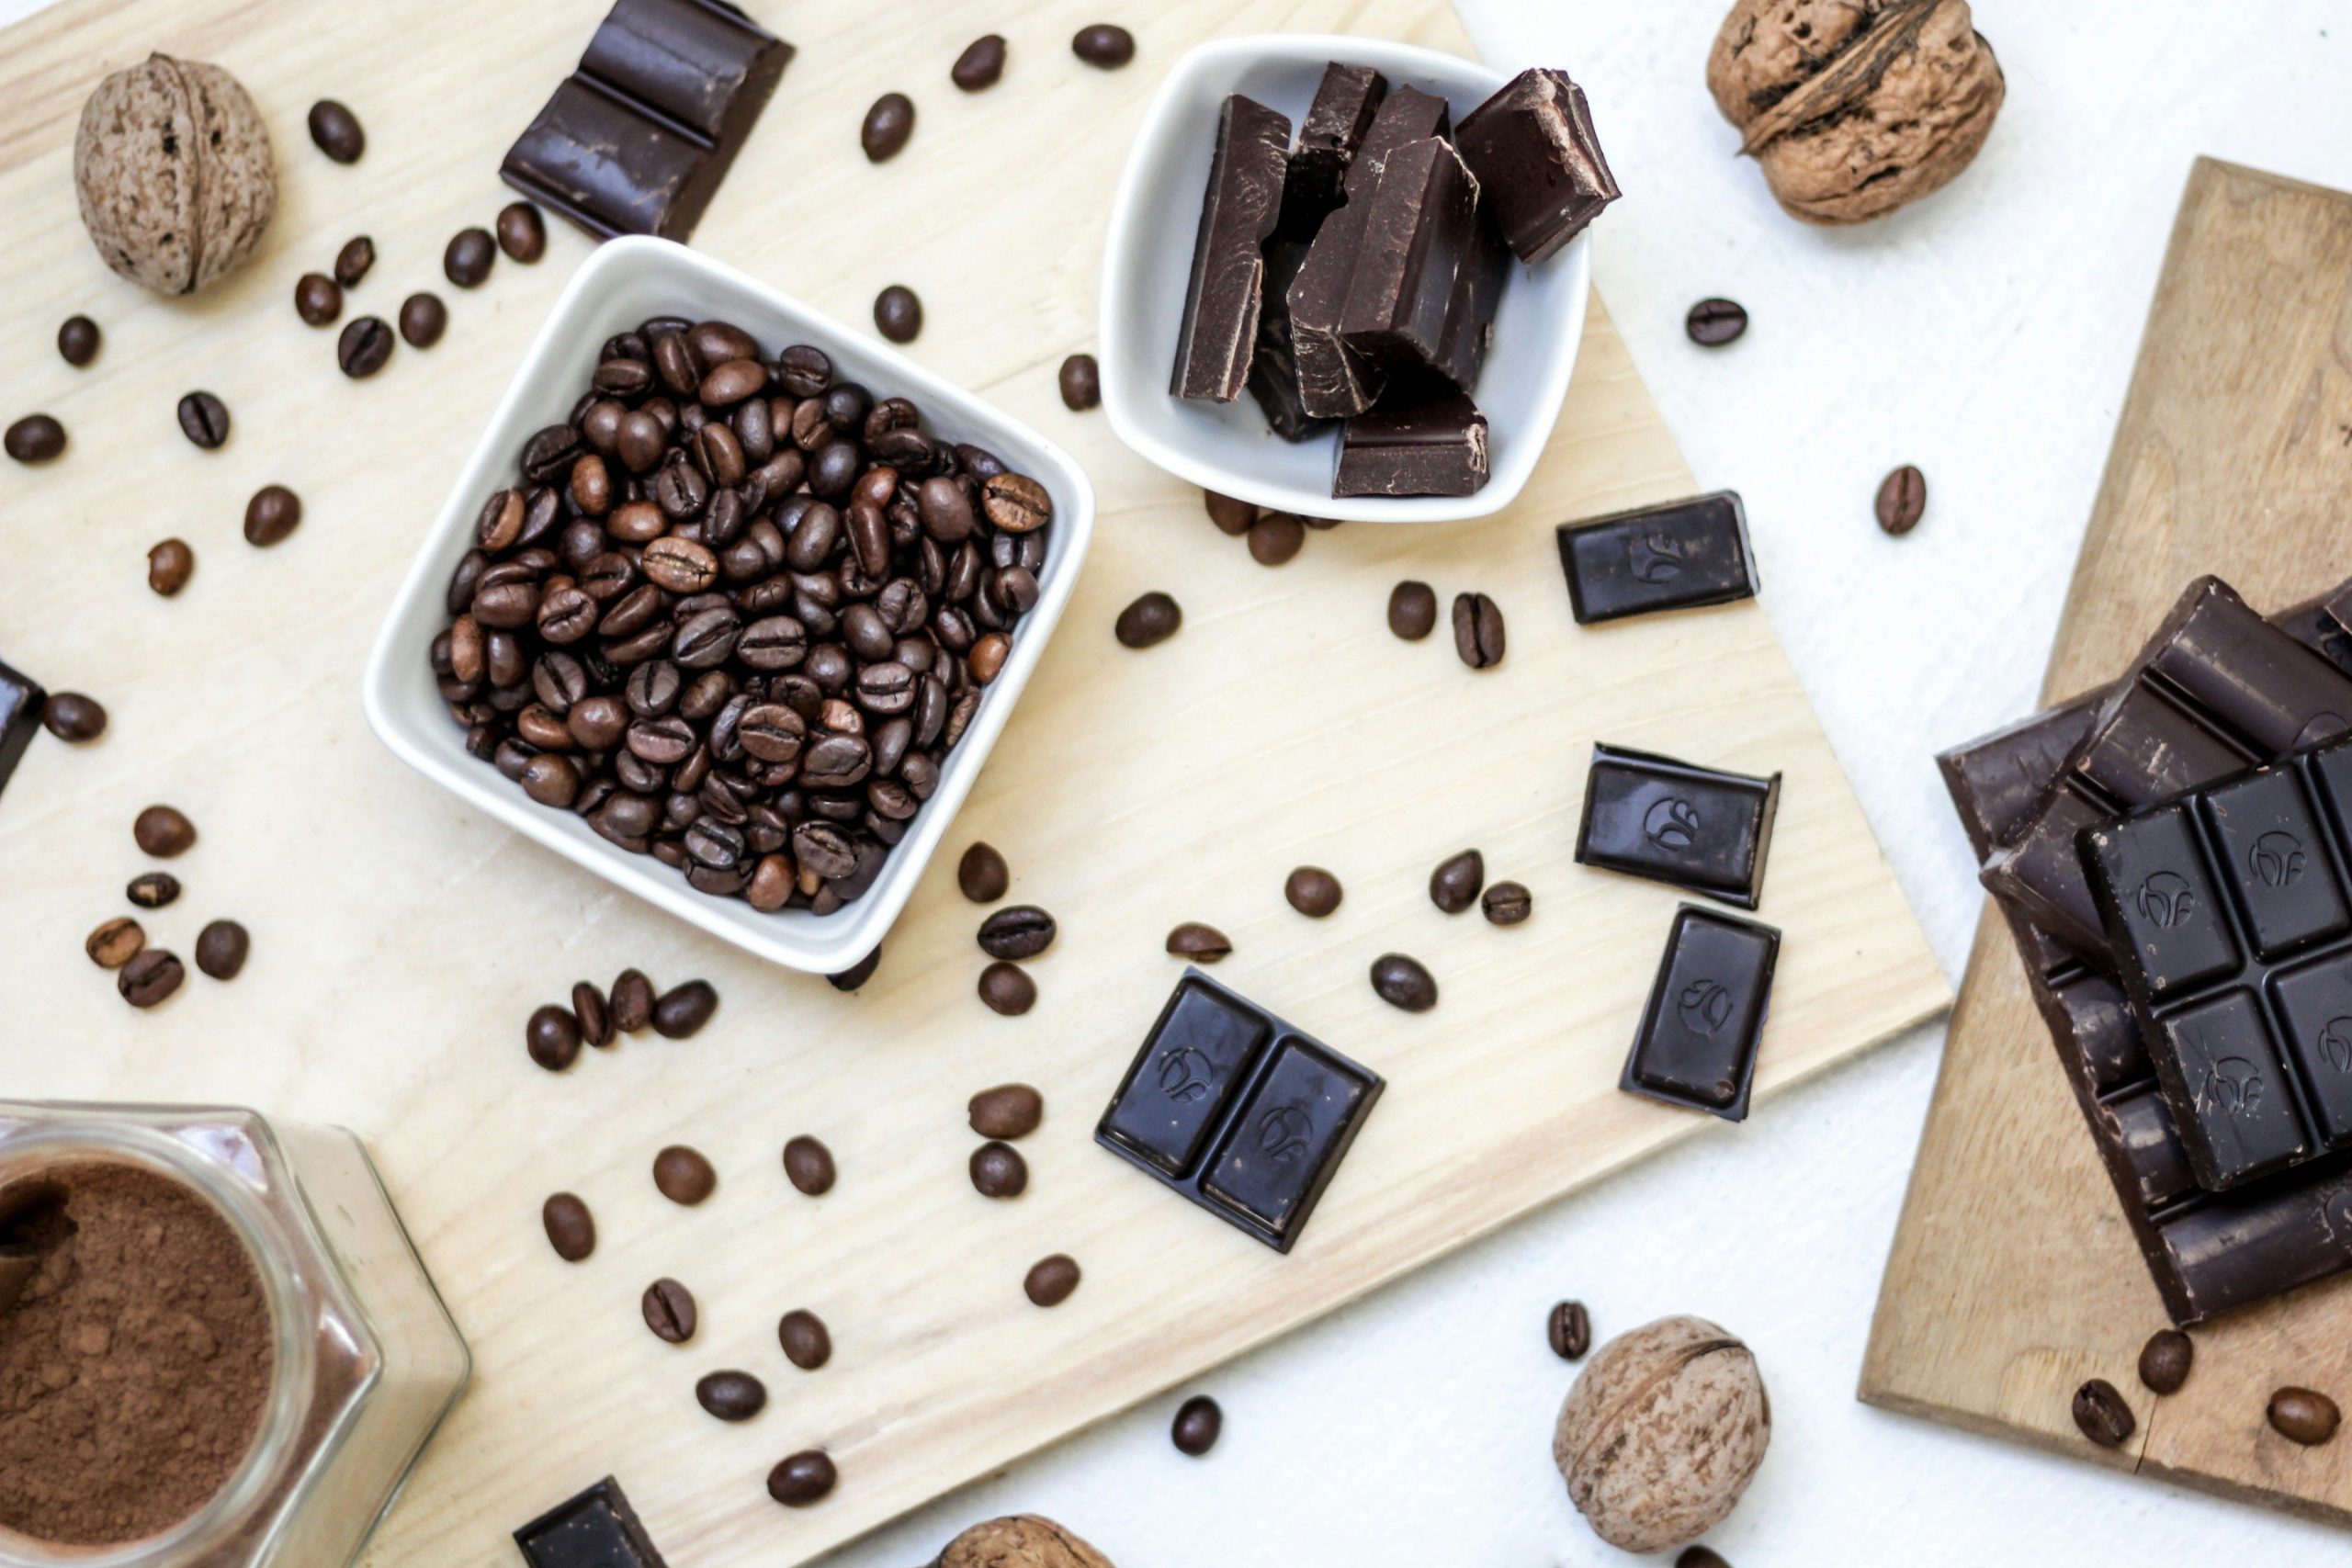
Before starting, assemble all necessary ingredients and equipment, including Arabica coffee beans, high-quality chocolate, cocoa powder, coconut oil for smoothness, parchment paper, and a set area for drying the coated beans.
Selecting Quality Coffee Beans
Choose medium to dark roast Arabica beans for their balance of sweetness and boldness. The roast level affects the flavor profile; lighter roasts offer a milder taste, while darker roasts provide a richer flavor. This choice will influence the final taste of your chocolate espresso beans.
For those with a penchant for customization, roasting your own coffee beans can elevate the uniqueness of the flavor. However, pre-roasted beans are perfectly suitable and can still result in a delightful treat.
Choosing the Right Chocolate
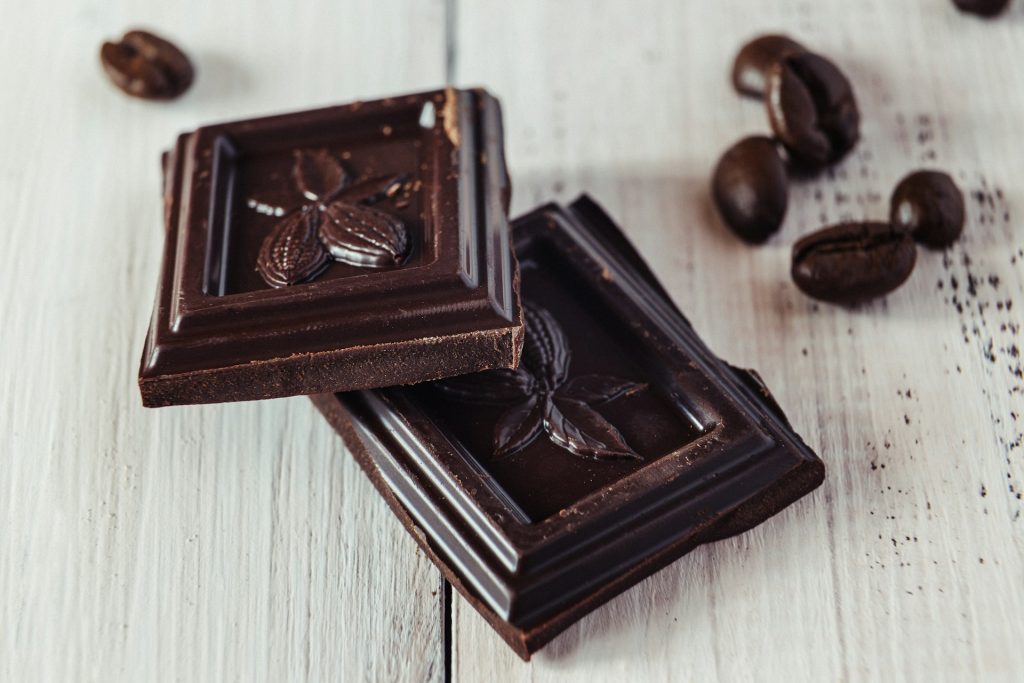
Selecting the right chocolate is crucial for a delicious outcome. High-quality chocolate will yield a smoother chocolate coating and enhance the overall flavor experience. Dark chocolate bars are recommended for their depth of flavor, which complements chocolate and coffee.
Chop the chocolate into tiny pieces before melting to ensure it melts evenly and quickly, preventing scorching. Proper preparation at this stage will facilitate a smoother melting process, whether using a double boiler or melting the chocolate in the microwave.
Preparing for the Chocolate Coating
Finely chopped chocolate and a small amount of coconut oil will be melted together to create the coating. The coconut oil helps the chocolate set with a glossy finish and makes the beans less prone to melting at room temperature.
Using a Double Boiler for Even Melting
To melt chocolate using a double boiler, fill the bottom pot with an inch of water and set it over medium heat. Place the finely chopped chocolate in a heat-safe bowl atop the pot, ensuring the bowl fits snugly, and the water does not touch it. Stir gently and consistently with a rubber spatula.
When the chocolate is almost fully melted, remove the bowl from the heat. Continue stirring until the residual heat completes the melting process, resulting in a smooth and evenly melted chocolate ready for dipping your coffee beans.
Quick Melting in the Microwave
If you prefer to melt chocolate in the microwave, use a microwave-safe bowl and heat it in 15-second intervals. After each interval, stir the chocolate pieces to help distribute the heat and prevent overheating, which can cause the chocolate to seize or burn.
Continue this process until the chocolate is glossy and maintains its form. Stir until all the chocolate pieces have melted, utilizing the residual heat. This method is quick and efficient, making it suitable for those who are short on time.

The Art of Coating Coffee Beans
Mastering the chocolate coating is crucial for achieving perfect chocolate espresso beans. Ensure each bean is evenly coated for a consistent flavor and texture in every bite.
Setting Up a Dipping Station
Prepare your dipping station by placing the melted chocolate in a bowl and lining a tray with parchment paper. This setup will streamline the process as you dip the coffee beans into the melted chocolate and then transfer them to the parchment paper.
Dip each bean individually or in small batches to ensure they are completely covered in chocolate. Allow any excess chocolate to drip off before placing the beans on the parchment paper to set.
Ensuring an Even Chocolate Shell
Use a fork to roll each coffee bean in the melted chocolate for an evenly coated chocolate shell, ensuring it’s fully covered. Tap the fork on the edge of the bowl to shake off excess chocolate and create a thin, even shell.
Place the coated beans on parchment paper and set them aside to cool. This step is vital for achieving a crisp, even chocolate shell that contrasts delightfully with the crunchy coffee bean inside.
Customizing Your Treat
Once you’ve mastered the basic recipe, experiment with flavors like cinnamon, chili, mint, or orange zest to add a personalized touch to your chocolate-covered coffee beans.
Spicing It Up With Cinnamon or Chili
For those who enjoy a kick in their treats, adding a dash of cinnamon or chili to the chocolate mixture can provide a spicy twist. These warming spices complement the deep flavors of coffee and chocolate, offering an unexpected but delicious taste sensation.
Introduce the spices to the melted chocolate or sprinkle them over the beans just after coating, allowing the spices to adhere to the still-wet chocolate for a visible and flavorful addition.
A Hint of Mint or Orange Zest
Mint and orange zest bring a refreshing contrast to the rich flavors of chocolate and coffee. Add a few drops of mint extract or some freshly grated orange zest to the melted chocolate for a zesty or cool note.
Mix thoroughly to ensure the flavor is evenly distributed throughout the chocolate before you begin the dipping process. The result will be a sophisticated twist on the classic chocolate-covered coffee bean.
Preservation and Presentation
Proper storage and presentation are key to maintaining the freshness and appeal of your homemade chocolate-covered coffee beans.
Storing Your Chocolate Covered Coffee Beans
Once the chocolate sets, transfer your chocolate-covered coffee beans to an airtight container to preserve their freshness. Store them at room temperature in a cool, dry place to maintain the quality of the chocolate coating and the crispness of the beans.
Avoid refrigeration, as it can cause condensation and affect the texture of the chocolate. Instead, opt for a cupboard or pantry that stays consistently cool. Proper storage will ensure your beans remain a delightful treat for coffee recipes or as an energy boost on their own.
Ideal Conditions to Maintain Freshness
To ensure your chocolate-covered coffee beans maintain their peak flavor and texture, storing them properly is crucial. The ideal conditions include a cool, dry place away from direct sunlight, where the temperature is consistently below 70°F (21°C). Humidity should be kept at bay, preferably below 50%, to prevent the chocolate from becoming sticky or melting.
An airtight container is key to preserving the beans’ freshness and preventing the absorption of surrounding odors. For best results, store the container in a pantry or cupboard that is free from drastic temperature changes. Proper storage allows your chocolate-covered coffee beans to remain fresh and delicious for several weeks.
Pro Tips for First-Timers
If you’re new to making chocolate-covered coffee beans, starting off with the right melting technique is essential. A double boiler ensures even, gentle melting of chocolate and avoids the risk of scorching. If you don’t have one, you can easily create your own by placing a heatproof bowl over a pot of simmering water, ensuring the bottom doesn’t touch the water.
Patience and attention to detail are key. Take your time to evenly coat each bean with chocolate, tapping off the excess before drying them. This meticulous process will pay off with a professional-looking finish. Remember, practice makes perfect, so don’t be discouraged if the first batch isn’t flawless.

Savoring Your Homemade Creation
Your homemade edible gift of chocolate-covered coffee beans is a sweet treat to be proud of. As the beans are coated in luscious chocolate melted to perfection, they become irresistible. Enjoy them alongside your favorite drinks, or gift them to friends and family. These little gems are a true testament to the joy of making and savoring handcrafted confections, enhanced with the tips you’ve learned along the way.

I’m Audrey, a dedicated mother of teenagers with an insatiable love for coffee. On BeanBrewLove.com, I intertwine my need for caffeine with reflections on life. Whether expressing a nostalgic sentiment or injecting a hint of sarcasm, my blog is a reservoir of coffee culture, brewing techniques, and global coffee reviews.


