Table of Contents
Those fancy-flavored lattes you’re addicted to? The secret isn’t some magical coffee blend – it’s all in the syrups, and I’m about to show you how to create an Instagram-worthy coffee syrup bar that’ll make your local café look basic.
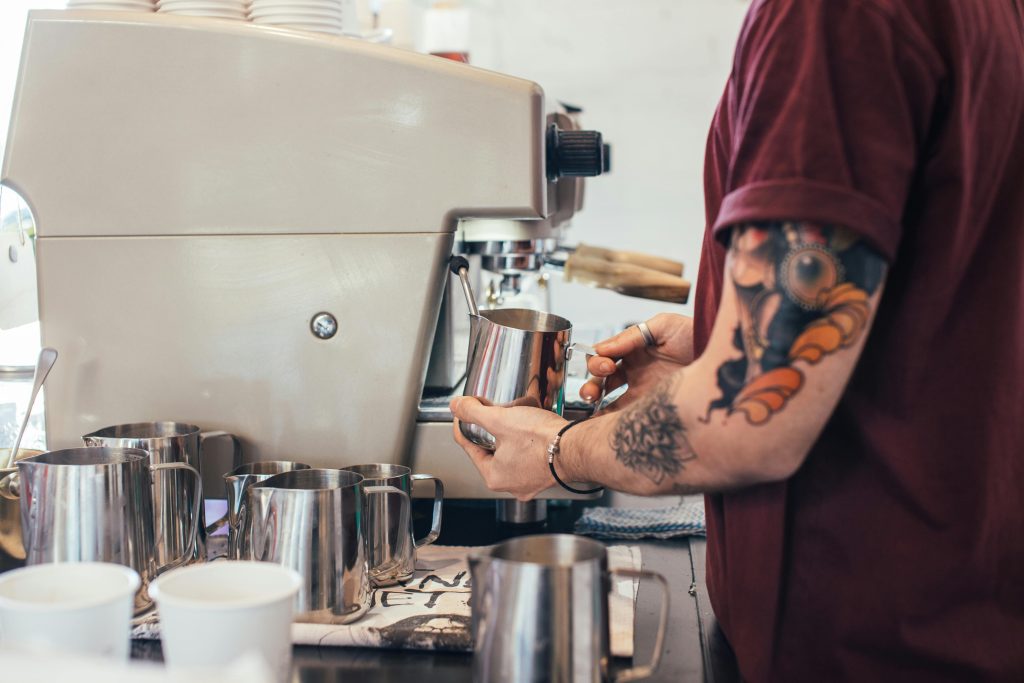
The Basic Setup That’ll Blow Minds
Essential Equipment
You don’t need fancy gear to make amazing coffee syrups. Grab these basics: a saucepan, a fine-mesh strainer, some glass bottles for storage, and cute labels (trust me, you’ll want to show these off). The magic isn’t in the equipment – it’s in what you do with it.
Storage Solutions That Pop
Clear glass bottles aren’t just practical – they’re part of the aesthetic. Line them up on a pretty tray or dedicated shelf, add some pump dispensers, and suddenly your kitchen looks like a high-end coffee bar. Pro tip: Use amber glass bottles for syrups with real vanilla beans or fresh ingredients to extend their shelf life.
The Essential Syrups Every Bar Needs
Classic Vanilla Bean Syrup
Skip the artificial vanilla extract. Split a real vanilla bean, scrape out those tiny seeds, and simmer with equal parts sugar and water. The result? A syrup that makes store-bought versions taste like cheap perfume. Plus, leave the bean pod in the bottle for syrup that gets better over time.
Caramel Syrup That’ll Make You Famous
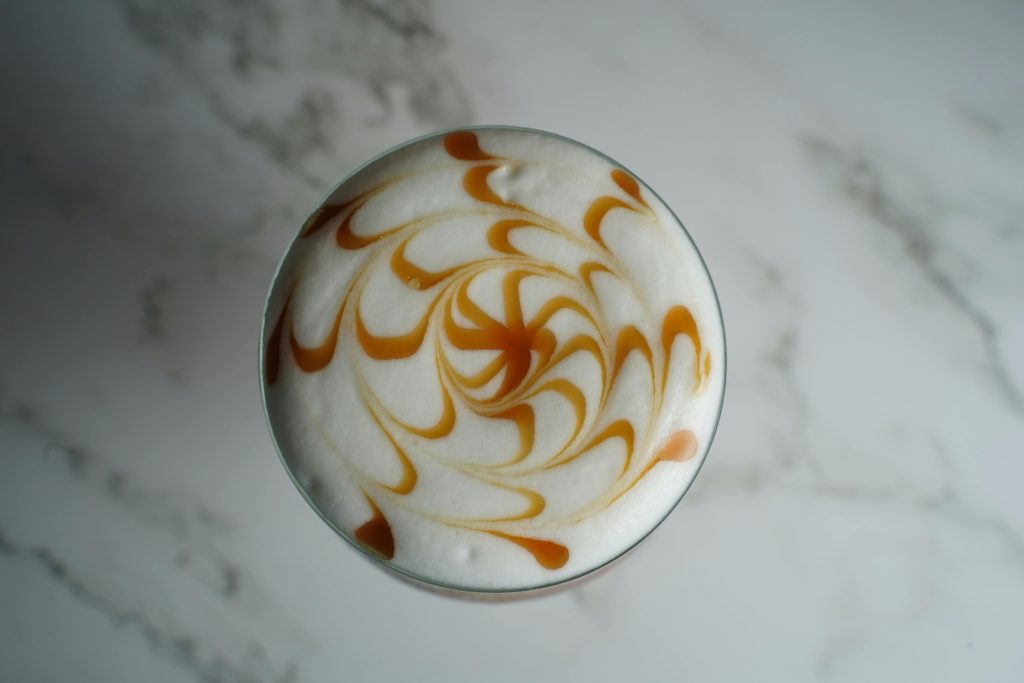
Here’s the secret to caramel syrup that’ll have friends begging for the recipe: Cook the sugar until it’s amber (don’t stir!), then slowly add hot water. The trick? Add a pinch of sea salt at the end. It cuts the sweetness and adds complexity that takes your coffee from good to “Where has this been all my life?”
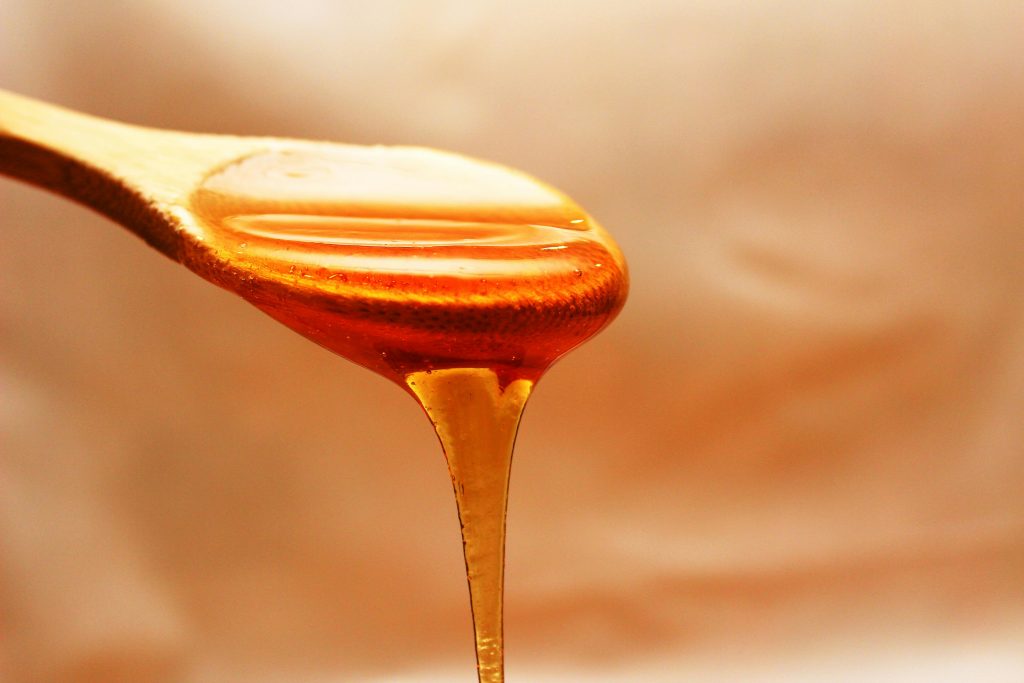
Cinnamon Brown Sugar Dream
Brown sugar + cinnamon sticks + water = pure magic. Simmer for 10 minutes, strain, and you’ve got a syrup that makes every coffee taste like a cozy fall morning. Add a splash of vanilla extract at the end for extra warmth.
Next-Level Flavor Combinations
The Unexpected Heroes
Want to impress? Try these combinations:
- Lavender honey (dried lavender + local honey + water)
- Salted maple (pure maple syrup + sea salt)
- Cardamom rose (cardamom pods + rose water + sugar)
- Toasted coconut (toasted coconut flakes + sugar + water)
Seasonal Specialties
Rotate these winners based on the season:
- Spring: Fresh mint and lime zest
- Summer: Mixed berry and basil
- Fall: Pumpkin pie spice and maple
- Winter: Peppermint white chocolate
Storage and Shelf Life Secrets
Keep It Fresh
Most syrups last 2-4 weeks in the fridge. Some tips to extend their life:
- Always use clean bottles
- Store in the fridge
- Use filtered water
- Add a splash of vodka as a preservative (optional)
Signs It’s Time to Say Goodbye
If your syrup looks cloudy, has an off smell, or shows any signs of mold, toss it. When in doubt, make a fresh batch – the ingredients are cheap, and fresh always tastes better.
Presentation is Everything
The Instagram-Worthy Setup
Create a dedicated syrup station with:
- Matching glass bottles with pump dispensers
- Small tasting spoons for sampling
- Recipe cards for popular combinations
- Pretty labels showing flavors and dates made
The Perfect Pour
Keep small shot glasses or measuring cups nearby. One pump usually equals about 1/4 ounce – perfect for most drinks. Add measuring lines to your cups for consistently amazing drinks.
Bonus: Quick Recipes That’ll Impress
The Basic Ratio
Start with the magic ratio: 1 cup water + 1 cup sugar = perfect syrup base every time.
Quick Flavor Infusions
- Herbs: Add fresh herbs to hot syrup, and steep for 30 minutes
- Spices: Add whole spices to cold syrup, and wait 24 hours
- Citrus: Add peels (no white pith) to hot syrup, steep for 1 hour
- Nuts: Toast nuts, crush, add to hot syrup, steep overnight
Advanced Syrup Techniques
The Sugar Alternatives Game
Not everyone wants traditional sugar syrups. Here’s how to master alternative sweeteners:
- Monk Fruit: Use a 2:1 ratio of monk fruit sweetener to water
- Erythritol: Add an extra 25% compared to sugar recipes
- Stevia: Start with 1/4 teaspoon per cup of water and adjust
- Allulose: Use 1:1 like regular sugar but simmer longer
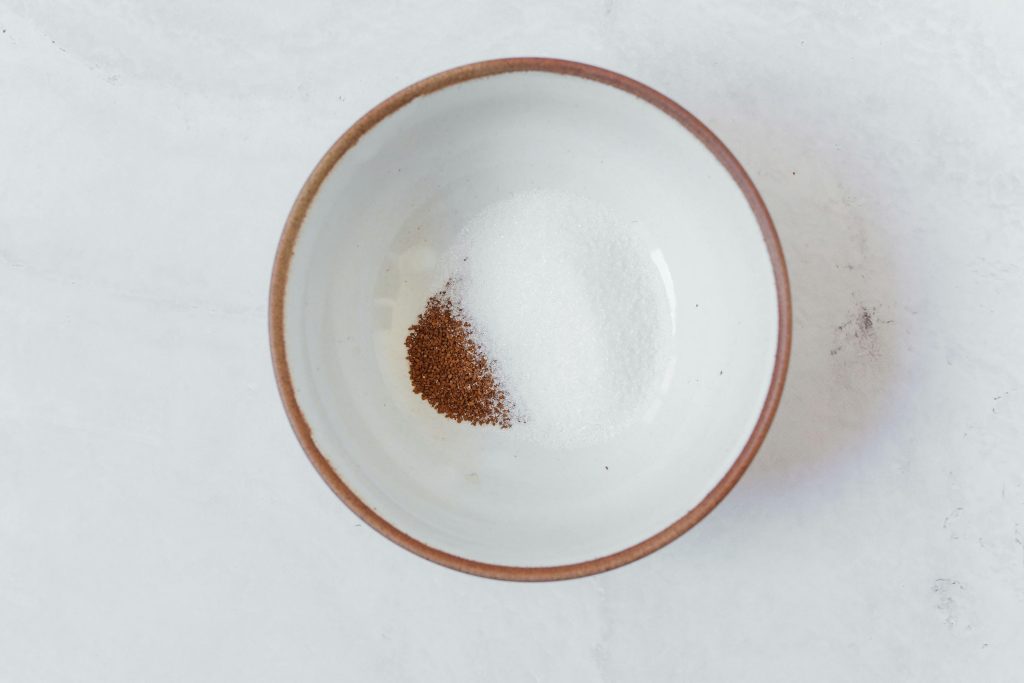
Layered Flavor Infusions
Want to create complex, café-quality syrups? Try the double infusion method:
- Make your base syrup with one flavor (like vanilla)
- Strain and reheat gently
- Add a second flavor (like lavender or citrus)
- Steep again The result? Depth of flavor that’ll make store-bought syrups taste one-dimensional.
Troubleshooting Common Issues
Crystal Clear Solutions
Got crystallized sugar in your syrup? Here’s how to fix it:
- Add a splash of hot water and reheat gently
- Stir until crystals dissolve
- Add a teaspoon of corn syrup to prevent future crystallization
- Store in a clean, dry bottle
Flavor Balance Fixes
If your syrup tastes:
- Too sweet: Add a tiny pinch of salt
- Too weak: Reduce with gentle heat
- Too strong: Dilute with simple syrup
- Bitter: Add a drop of vanilla extract
Creating Signature Blends
The Coffee Shop Copycat
Missing your favorite café drinks? Try these combinations:
- Salted Caramel: Caramel syrup + sea salt + vanilla
- Holiday Spice: Cinnamon + nutmeg + clove + vanilla
- Cookie Butter: Brown sugar + cinnamon + butter extract
- Chocolate Hazelnut: Cocoa powder + hazelnut + vanilla
The Mixologist’s Touch
These syrups aren’t just for coffee:
- Add to sparkling water for custom sodas
- Mix into cocktails for coffee-inspired drinks
- Drizzle over desserts
- Add to smoothies and protein shakes
Advanced Storage Solutions
The Syrup Library System
Keep track of your creations with:
- A syrup journal noting recipes and tweaks
- “Made on” and “Best by” dates on bottles
- QR codes linking to favorite drink recipes
- Color-coded labels for different flavor families
Temperature Matters
Different syrups have different storage needs:
- Fruit-based: Always refrigerate
- Herb-infused: Cool, dark place
- Pure sugar syrups: Room temperature okay
- Nut-based: Refrigerate after opening
Creating Your Coffee Corner
The Ultimate Setup
Take your syrup bar to the next level:
- Install a floating shelf just for syrups
- Add under-shelf lighting
- Include a small chalkboard for daily specials
- Keep garnishes in clear jars nearby
The Finishing Touches
Don’t forget these practical extras:
- Syrup pipettes for precise flavoring
- Small spoon rest for sticky pumps
- Recipe cards for popular combinations
- Tasting notebooks for guests
DIY Gifting Guide
Your homemade syrups make perfect gifts:
- Package in small bottles with custom labels
- Include recipe cards for signature drinks
- Add a mini whisk or pump
- Create seasonal gift sets
Remember, your coffee syrup bar isn’t just about the syrups – it’s about creating an experience. Each morning becomes a chance to experiment with new flavors and perfect your signature drinks. Your kitchen isn’t just a kitchen anymore – it’s your personal coffee laboratory, and these syrups are your secret weapons.
Your Coffee Shop’s Worst Nightmare
With this setup, your morning coffee routine just got a serious upgrade, and your friends will start inviting themselves over for coffee instead of meeting at the café. The only question is: which syrup will you make first?

I’m Audrey, a dedicated mother of teenagers with an insatiable love for coffee. On BeanBrewLove.com, I intertwine my need for caffeine with reflections on life. Whether expressing a nostalgic sentiment or injecting a hint of sarcasm, my blog is a reservoir of coffee culture, brewing techniques, and global coffee reviews.


